Use a clipping path to remove image background
So, you have an image file (jpg, tiff, or psd) with a clipping path, but it is still on the original background. How do you use the clipping path to cut out the image and remove the background?
We often get this question from customers we work with. So here's the process.
-
Open the image in Photoshop
-
Switch to the Paths palette
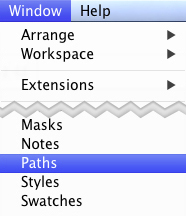
-
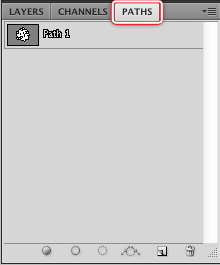
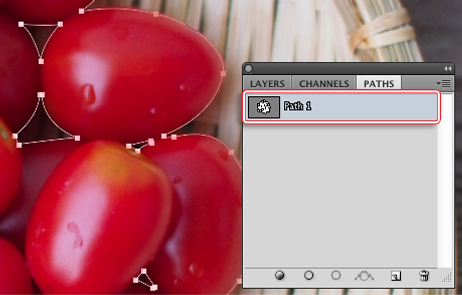
Click the path you want to use for cutout to activate it
-
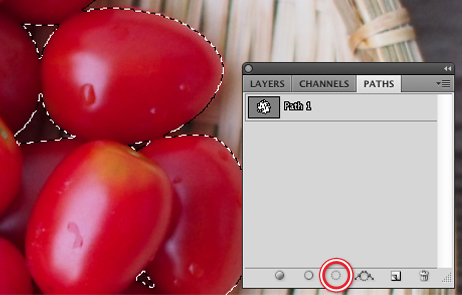
Command-click (Ctrl-click on Windows) the path to create a selection from it (or click the small dotted circle at the bottom of the Paths palette)
-
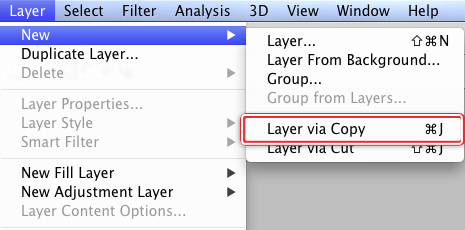
Hit Command-J (Ctrl-J on Windows) (or select Layer -> New -> Layer via Copy in the menu)
-
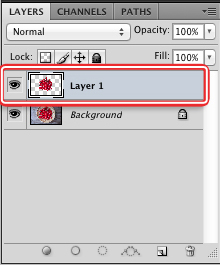
Switch back to the Layers palette, and the cutout will be in a new layer
-
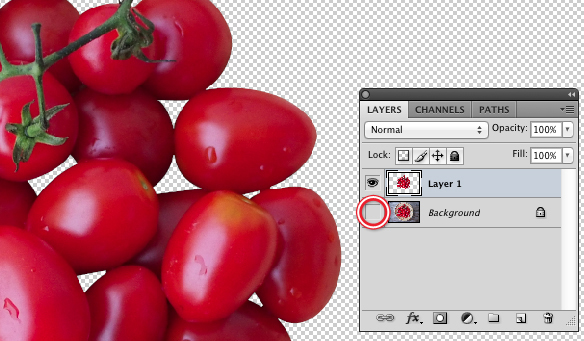
click the eye to unshow the original background
So, why don't we do this for you? Well, we can if you want (and at no extra cost) - though you will need to return in a format which supports transparency (e.g. png, psd or tiff) or on a background color you specify.
However, by default we return on original background as it offers our customers maximum flexibility. For example, they have the freedom to make alterations to the path, or change some path parameters before using it. And, in the end, using the clipping path to isolate the image from its background is simple and takes only a moment.
But if you outsource your image cutouts to us, you can let us know exactly how you want us to deliver them.